

Although much of your study time as a vet tech student focuses on academic knowledge, there is another type of learning that can be even more difficult to master: hands-on skills.
The hands-on, technical skills utilized by veterinary technicians require procedural memory. No amount of reviewing or flashcards can help with procedural memory; these skills are obtained only through practice. Repeating these tasks many, many times is the only way to develop the unconscious “muscle memory” required for hands-on, technical tasks.
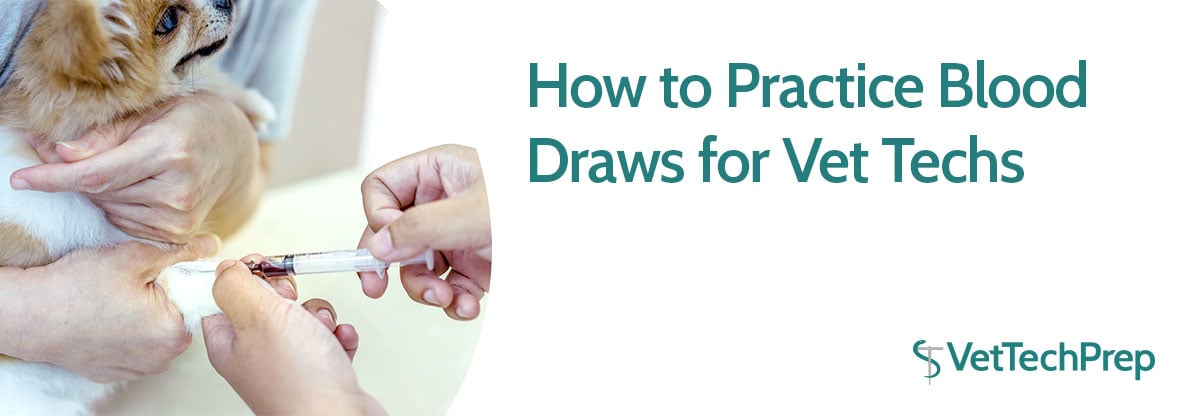
Here’s a simple, low-cost technique that you can use to practice blood draws, using materials that can be found in your home, workplace, or vet tech school.

Materials needed:
- IV fluid tubing: extension set connected to an empty fluid bag or a piece of tubing at least several inches long. Used materials are fine, as long as they did not contain harmful substances.
- Water
- Red food coloring
- A broom handle, plastic bottle, paper towel roll stuffed with newspapers, or other cylindrical shape
- Tape
- Vet wrap or other bandage material
- Syringes
1. Fill the IV tubing with water and red food coloring, creating a simulated “vein.”
If you have an IV bag attached to a fluid line, inject a small amount of water and several drops of red food coloring into the IV bag. Allow this “blood” to fill the line, using a clamp to prevent leakage.
If you only have a small amount of IV tubing available, secure one end with a clamp, knot, or clothespin, fill the tube with “blood,” and then secure the other end of the tube.
2. Use tape to attach the “vein” to an object that can serve as your patient’s “leg.”
Any cylindrical object can be used for this step. Examples include a broom handle, empty plastic bottle, paper towel roll stuffed with newspaper, or any other similarly-shaped object that you have available.
Place the “vein” such that it runs along the length of the “leg.” Use tape to temporarily hold the device together as you complete the next step.
3. Wrap the “leg” and “vein” with vet wrap or other bandaging material.
Cover everything with a snug layer of bandaging, so that you cannot see the tubing and instead are working blindly by feel. Beginners may wish to start with a thin layer of vet wrap. With practice, however, you should be able to palpate the “vein” through even thick layers of vet wrap.
4. Use a syringe to practice your blood draw technique.
Stabilize the “leg” with your non-dominant hand and use the index finger of your dominant hand to feel for the “vein.” Next, use your dominant hand to hold the syringe and swiftly insert the needle into the “vein.” Using a one-handed technique, pull back on the syringe plunger and draw “blood” into your syringe.
If your IV tubing is attached to a fluid bag, you can discard the “blood” after drawing (the tubing will refill from the bag). If you are using a section of IV tubing that is not connected to a fluid bag, you may wish to re-inject the “blood” before removing your needle, giving you multiple practice opportunities before running out of fluid.
With repeated practice, you should notice that the motions associated with blood sample collection become gradually easier, and even automatic, over time. This practice will make you better-prepared when it’s time to draw blood on live patients!
Interested in knowing more about memory, learning and studying? Download our eBook “2019 Vet Tech Student Study Strategy: How to tackle studying in the new year for veterinary students”.

in
Blood Draws
1 Comment